How to Take a Screenshot in Kali Linux
Whether you’re documenting penetration testing results, creating tutorials, troubleshooting technical issues, or simply saving important information, knowing how to take a screenshot in Kali Linux is an essential skill. Screenshots allow you to capture exactly what’s displayed on your screen, making it easier to share information with others or keep visual records of your work.
Kali Linux is widely used by cybersecurity professionals, ethical hackers, students, and Linux enthusiasts. Since many users spend a significant amount of time working in the terminal or using security tools, taking screenshots becomes a routine part of daily tasks. Fortunately, Kali Linux offers several simple methods for capturing your screen, whether you prefer keyboard shortcuts, graphical applications, or command-line tools.
In this guide, you’ll learn how to take a screenshot in Kali Linux using built-in features and popular third-party applications. We’ll also cover where screenshots are saved, how to troubleshoot common issues, and which screenshot tool is best for your workflow.
Why Learning How to Take a Screenshot in Kali Linux Is Important
Screenshots are more than just images—they’re an important way to document your work. If you’re following a cybersecurity course or practicing ethical hacking in a lab environment, screenshots can help you record completed tasks, preserve terminal output, and include evidence in reports. Many certification exams and practical assignments also require visual documentation.
For bloggers, technical writers, and educators, screenshots make tutorials much easier to understand. Instead of explaining every step with text alone, you can visually guide readers through the process. Screenshots are equally useful when reporting software bugs, asking for technical support, or sharing configuration settings with colleagues.
Once you know how to take a screenshot in Kali Linux, you’ll find it much easier to create documentation, organize your work, and communicate technical information effectively.
Method 1: Take a Screenshot Using the Print Screen Key
The quickest and easiest way to capture your screen is by using your keyboard. Most Kali Linux installations running the GNOME desktop environment include built-in keyboard shortcuts that allow you to take screenshots instantly without opening any additional software.
To capture your entire screen, simply press:
PrtScThis captures everything currently displayed on your monitor. Depending on your desktop environment, the screenshot may be saved automatically in your Pictures folder or you may be prompted to choose a location.
If you only want to capture the currently active window, use:
Alt + PrtScThis is useful when you’re working with a single application and don’t want to include the rest of your desktop.
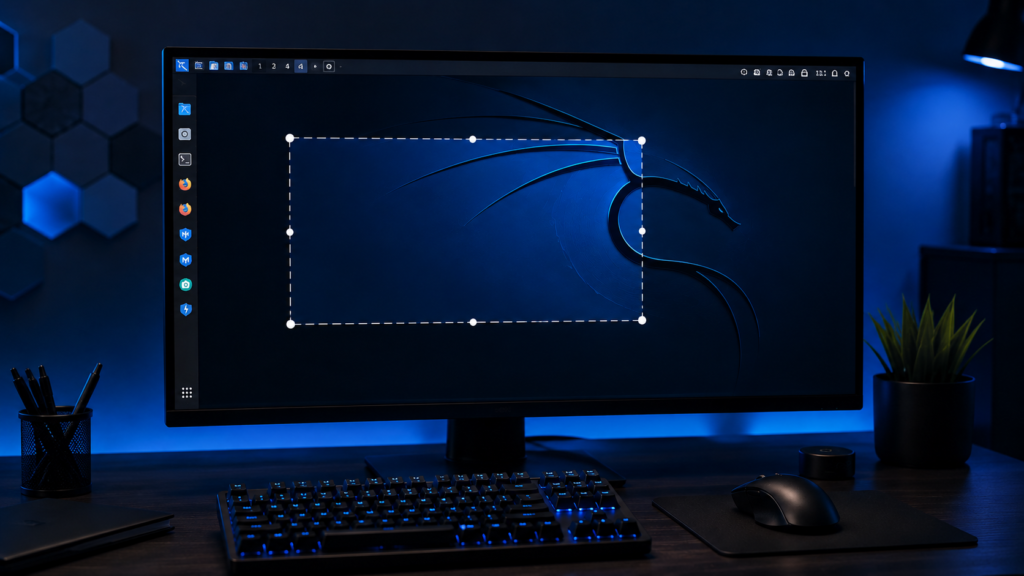
To capture only a selected area of the screen, press:
Shift + PrtScYour cursor will change into a crosshair selection tool. Click and drag over the area you want to capture, then release the mouse button to save the screenshot.
These keyboard shortcuts are the fastest option for most users and work perfectly for everyday tasks.
Method 2: Use the Built-in Screenshot Tool
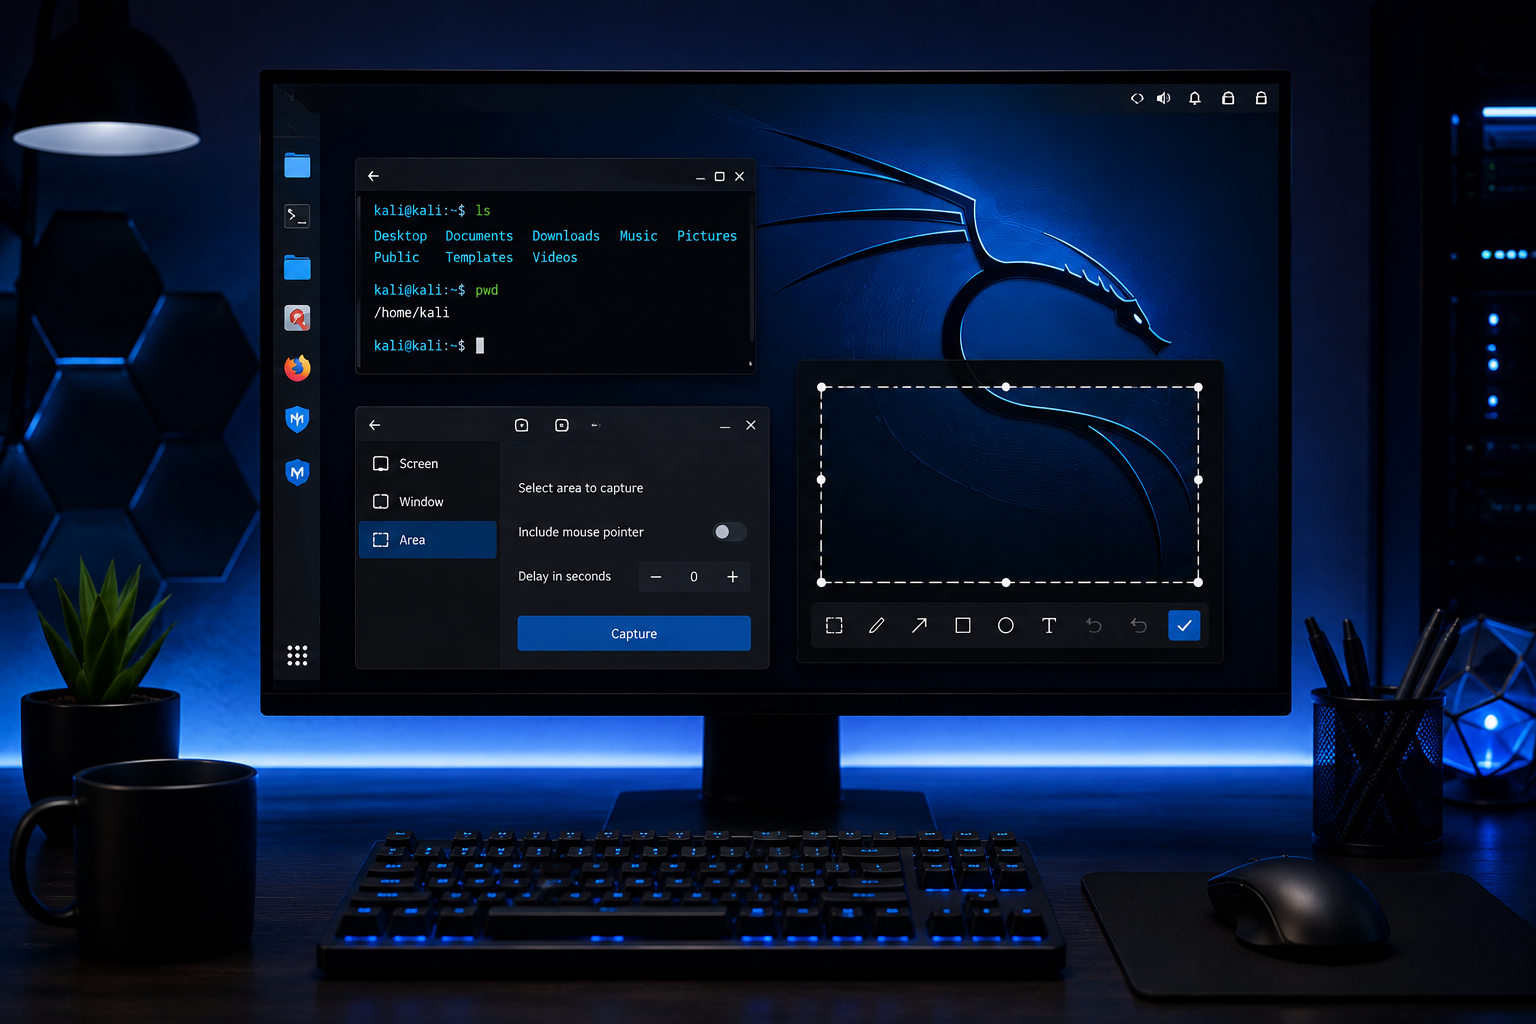
If you prefer a graphical interface, Kali Linux includes a built-in screenshot application that provides more flexibility than keyboard shortcuts.
Open the application by pressing the Super (Windows) key and searching for Screenshot. Click the application to launch it.
The Screenshot tool allows you to choose between several capture modes:
- Capture the entire screen
- Capture the current window
- Capture a selected area
- Add a delay before capturing
- Include or hide the mouse pointer
The delay option is particularly useful when you need to open menus or prepare your screen before the image is captured. Simply set the timer, click the capture button, and arrange your desktop before the countdown finishes.
This method is recommended for beginners because it offers a simple interface while still providing useful options.
Method 3: Take Screenshots with Flameshot
If you regularly create tutorials or technical documentation, Flameshot is one of the best screenshot tools available for Linux. It combines screenshot capture with built-in editing features, allowing you to annotate images immediately after taking them.
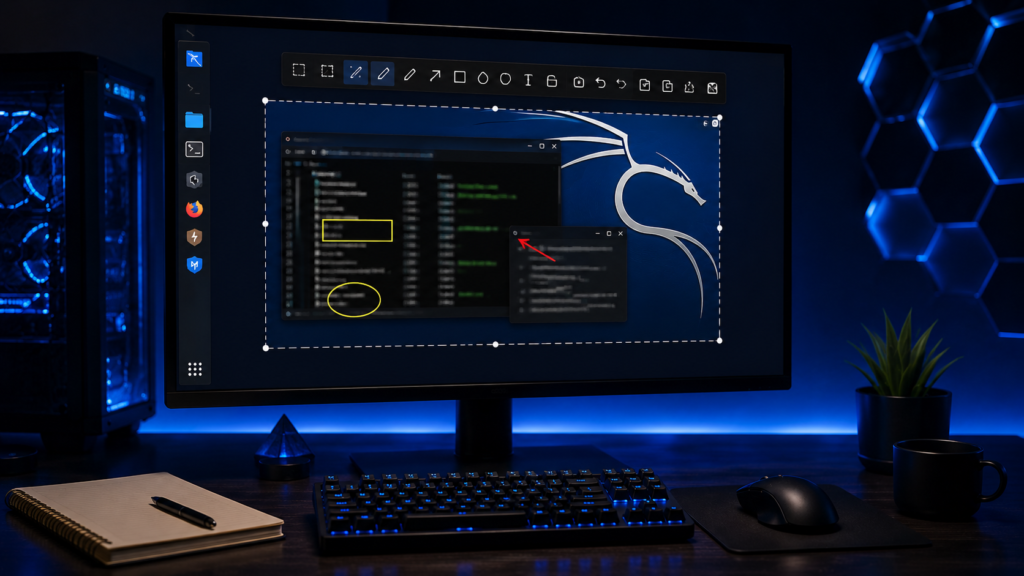
Unlike the default screenshot application, Flameshot lets you add arrows, text, rectangles, highlights, and blur sensitive information before saving your image. This makes it an excellent choice for bloggers, cybersecurity professionals, and educators.
To install Flameshot, first update your package list:
sudo apt updateThen install the application:
sudo apt install flameshotAfter installation, launch it with:
flameshot guiOnce launched, your screen will dim and you’ll be able to select the area you want to capture. After selecting the area, Flameshot displays a toolbar containing editing tools, allowing you to annotate your screenshot before saving it.
For anyone who creates tutorials or reports regularly, Flameshot is one of the best additions to a Kali Linux system.
Method 4: Take Screenshots from the Terminal
Many Kali Linux users spend most of their time in the terminal. If you enjoy working from the command line, you can capture screenshots without opening any graphical application.
If the GNOME Screenshot utility isn’t already installed, install it using:
sudo apt install gnome-screenshotTo capture the entire screen, run:
gnome-screenshotTo capture only the active window:
gnome-screenshot -wTo capture a selected area:
gnome-screenshot -aIf you need time to prepare your screen before the capture, use a delay:
gnome-screenshot -d 5The number represents the delay in seconds. This feature is especially useful when you need to open menus or hover over interface elements before taking the screenshot.
Method 5: Save Screenshots to a Specific Location
By default, screenshots are usually saved in the Pictures folder inside your home directory. However, you can specify exactly where the image should be stored.
For example:
gnome-screenshot -f ~/Pictures/screenshot.pngYou can also save screenshots directly to your Desktop:
gnome-screenshot -f ~/Desktop/network-scan.pngUsing descriptive filenames makes it much easier to organize screenshots, especially if you’re working on multiple projects.
Where Are Screenshots Saved in Kali Linux?
Most desktop environments save screenshots inside:
~/PicturesSome desktop environments may display a Save dialog, allowing you to choose a different folder.
If you’re unable to locate your screenshot, open the Pictures folder first, as this is the default location for most Kali Linux installations.
Best Screenshot Tools for Kali Linux
While Kali Linux includes a built-in screenshot utility, several third-party applications provide additional functionality.
| Tool | Best For |
|---|---|
| GNOME Screenshot | Everyday screenshots |
| Flameshot | Tutorials and annotations |
| Spectacle | KDE Plasma users |
| Shutter | Advanced editing and documentation |
Among these, Flameshot is generally considered the best option because of its annotation features and ease of use.
Useful Screenshot Keyboard Shortcuts
Learning a few keyboard shortcuts can significantly improve your productivity.
| Shortcut | Function |
|---|---|
| PrtSc | Capture the entire screen |
| Alt + PrtSc | Capture the active window |
| Shift + PrtSc | Capture a selected area |
| Ctrl + C | Cancel a capture |
| Esc | Exit screenshot mode |
These shortcuts become second nature after a little practice and are the fastest way to capture your screen.
Troubleshooting Common Screenshot Problems
Print Screen Key Doesn’t Work
Some keyboards require you to press the Fn key together with PrtSc. If the shortcut still doesn’t work, open Settings → Keyboard → Keyboard Shortcuts and verify that the screenshot shortcuts are enabled.
Screenshot Isn’t Saved
If your screenshot doesn’t appear in the Pictures folder, your desktop environment may be prompting you to choose a save location. Search your system for recently created PNG files or specify a location manually using:
gnome-screenshot -f ~/Pictures/image.pngFlameshot Doesn’t Open
If Flameshot fails to launch, reinstall it:
sudo apt install --reinstall flameshotYou can also restart it by running:
flameshotTips for Taking Better Screenshots
When creating screenshots for documentation or tutorials, keep your desktop clean and remove unnecessary windows. If you’re sharing screenshots publicly, always blur sensitive information such as passwords, usernames, IP addresses, API keys, or confidential data.
Use descriptive filenames instead of generic names like Screenshot.png. This makes it easier to locate images later, especially if you capture many screenshots every day.
For tutorials, save images in PNG format because it preserves image quality and keeps text sharp and readable.
Frequently Asked Questions
1. Where are screenshots stored in Kali Linux?
Most screenshots are saved inside the Pictures folder (~/Pictures). Some desktop environments may ask where you want to save the image before it is stored.
2. Can I take screenshots using the terminal?
Yes. The gnome-screenshot command allows you to capture the entire screen, the active window, or a selected area directly from the terminal.
3. Which screenshot tool is best for Kali Linux?
For beginners, the built-in Screenshot application works well. However, if you frequently create tutorials or technical documentation, Flameshot offers annotation tools that make it a better choice.
4. Can I capture a screenshot after a delay?
Yes. Use:
gnome-screenshot -d 5This waits five seconds before taking the screenshot, giving you time to prepare your desktop.
Conclusion
Learning how to take a screenshot in Kali Linux is a simple but valuable skill for every Linux user. Whether you’re documenting penetration testing results, creating technical tutorials, troubleshooting system issues, or sharing information with colleagues, screenshots make communication much easier.
Kali Linux provides multiple methods for capturing your screen, including keyboard shortcuts, the built-in Screenshot application, Flameshot, and terminal-based tools. Each method has its own advantages, so you can choose the one that best fits your workflow. As you become more comfortable with the operating system, you’ll find yourself using screenshots regularly to improve documentation, organize projects, and simplify collaboration.
Internal Link Suggestions
- Essential Kali Linux Commands Every Beginner Should Know
- How to Install Software on Kali Linux Using APT
- Best Kali Linux Tools for Beginners
- Kali Linux Keyboard Shortcuts
- Linux Terminal Cheat Sheet
Recommended External Links for This Article
- Kali Linux Documentation: https://www.kali.org/docs/
- GNOME Help: https://help.gnome.org/
- Flameshot Official Website: https://flameshot.org/
- Debian APT Documentation: https://wiki.debian.org/Apt